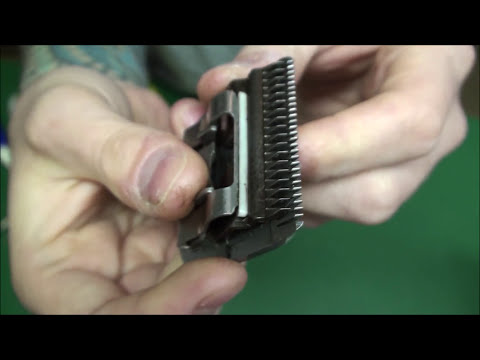
Hi, this is Nick George with Clouds of Diamond Sharpening. Today, I will be demonstrating the disassembly and assembly of a hair cutting clipper blade. First of all, let's begin by taking the blade apart. This is the cutter blade, which moves back and forth to cut the hair. We also have the comb, which is a flat surface that guides the hair towards the cutter blade. To disassemble the blade, place two fingers on the inside of the blade and your thumb on the back. Then, flip it upside down and line up the holes. Next, insert the screws into the holes and tighten them, but only for a quarter turn or so. This will create a slight gap. Now, when assembling the blade, make sure the cutter blade is aligned straight. It should not go over the flat surface of the comb. If it hangs over, it will only move the hair around instead of cutting it effectively. To ensure proper alignment, look down the side and adjust as needed. Once it looks straight, tighten the screws until the blade looks nice and straight. Let's go through the process one more time in case you missed any steps. If your blade fell apart, put your fingers inside, place the comb over it, and line up the holes. Insert and tighten the screws slightly, then lift the blade up and slide it into place. Make sure it aligns properly with the comb, and you're done! Remember, when adjusting or aligning the blade, there is no need to overtighten the screws. This won't improve its cutting ability and may even damage the socket. Be careful not to strip any parts and handle them with care. Thank you for joining me in this demonstration. I hope you found it helpful. Have a great day.
Award-winning PDF software


Video instructions and help with filling out and completing Fill Form 8655 Spaces